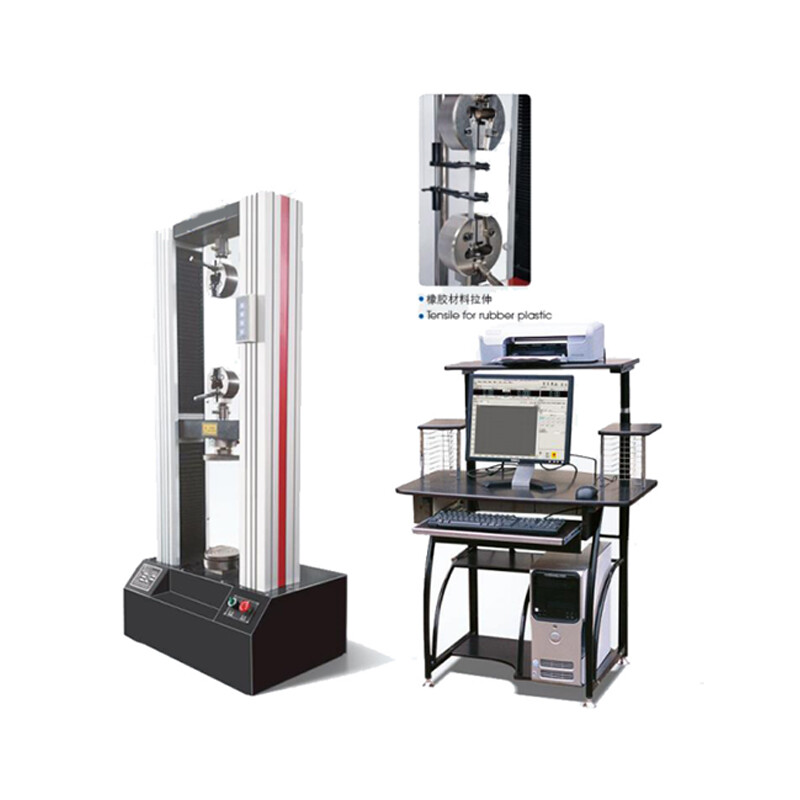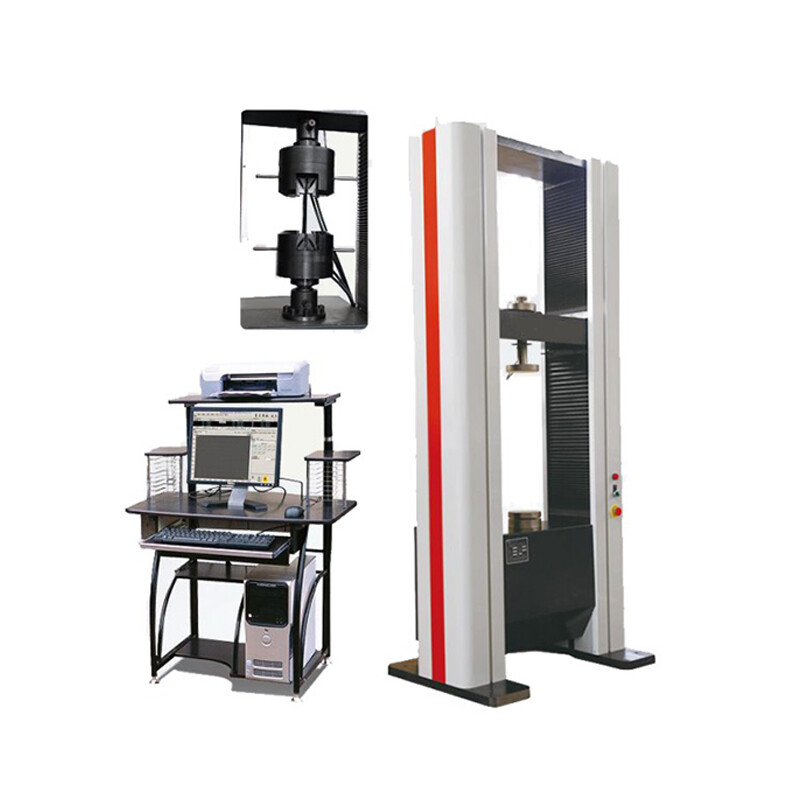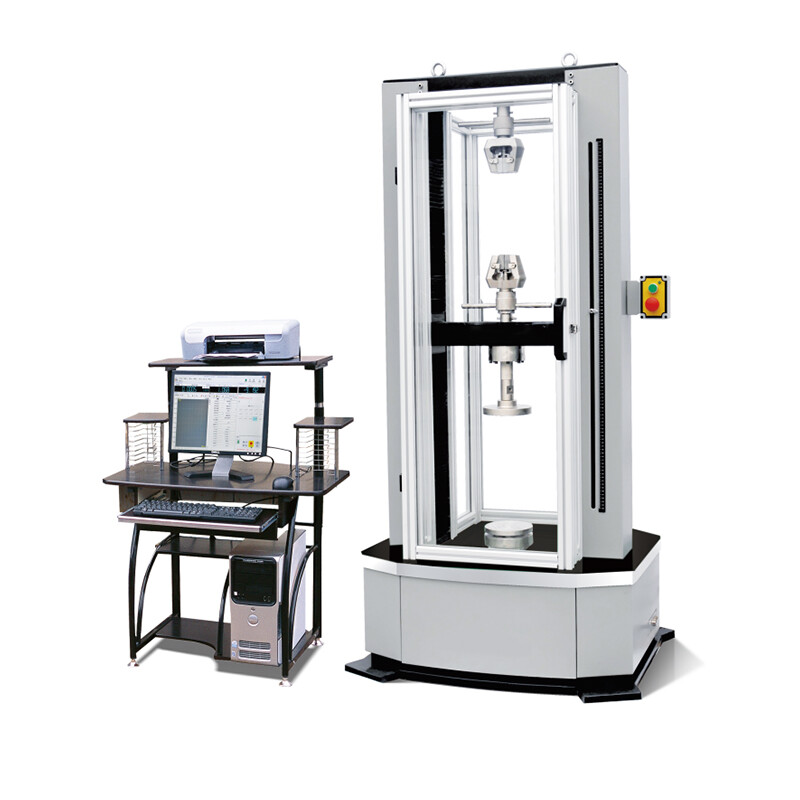
WDW-200J Computer-Controlled Electronic Universal Testing Machine
1. Main Usage and Application Scope
This machine is primarily used for testing the mechanical properties of metal and non-metal materials under tension, compression, and bending. With the addition of appropriate fixtures and measurement/control software, it can also conduct tests on artificial boards and perform ring stiffness, ring flexibility, and flattening tests for plastic pipes.
2. Main Technical Specifications
2.1 Maximum test force: 200 kN.
2.2 Measurement range: 2%–100% of the maximum test force.;
2.3 Test force accuracy: within ±1% of the indicated value.;
2.4 Displacement resolution: 0.001 mm; displacement accuracy: ≤ ±0.5%;
2.5 Crosshead movement speed: 0.01 mm/min–500 mm/min, infinitely adjustable;
2.6 Crosshead speed control accuracy: ≤ ±1%;
2.7 Maximum crosshead displacement: 1250 mm;
2.8 Tension test space: 600 mm;
2.9 Compression test space: 1100 mm;
2.10 Test space width: 400 mm;
2.11 Test space width: 400 mm;
2.12 Machine weight: approx. 1500 kg.
3. Operating Conditions
3.1 Room temperature: 10℃–35℃, relative humidity not exceeding 80%;
3.2 Must be installed horizontally on a stable foundation, with a level tolerance of less than 0.2/1000;
3.3 No vibrations, corrosive media, or strong electromagnetic interference in the surrounding environment;
3.4 Power supply voltage fluctuation range: within ±10% of the rated voltage;
3.5 Power frequency fluctuation range: within ±2% of the rated frequency;
3.6 Reliable grounding of the machine’s power source.
4. Main Components
1、High-precision 200 kN load sensor;
2、Fully digital servo motor and servo driver;
3、High-precision ball screw;
4、Lenovo brand computer with widescreen LCD monitor;
5、 HP printer;
6、High-precision data acquisition board (24-bit A/D data acquisition), enabling fully digital adjustment, high-precision amplification, and accurate control (integrated into the computer).
7、Standard configuration: one set of tension and compression fixtures.
5. Product Features and Characteristics
1、Mainframe
1.1 Adopts a portal frame structure, offering a compact and elegant design;
1.2 Includes standard tension and compression fixtures;
1.3 Uses an AC motor and servo driver for reliable and stable performance, equipped with overcurrent and overvoltage protection;
1.4 Features precision ball screws and a high-precision deceleration mechanism for smooth transmission, low noise, and zero backlash.
2、 Measurement and Control System, Software, and Data Processing
The system incorporates advanced chip integration technology, a professionally designed data acquisition and amplification system, and control software. It offers high integration, stability, reliability, and user convenience. The software automatically calculates conventional data such as elastic modulus, yield strength, tensile strength, and fracture strength. It also calculates forces, stresses, displacements, and deformations at any point during the test. The computer control system complies with national standards for metal and non-metal materials.
2.1 Automatic Zeroing: The measurement system automatically resets to zero at the start of the test;
2.2 Automatic Range Switching: Automatically adjusts to the appropriate range based on the load size to ensure measurement accuracy;
2.3 Automatic Shutdown: The crosshead automatically stops moving after the specimen breaks;
2.4 Automatic Calibration: The system can automatically calibrate the accuracy of displayed values;
2.5 Automatic Data Saving: Test data and conditions are automatically saved, preventing data loss due to failure to save manually;
2.6 Automatic Speed Adjustment: The crosshead movement speed can automatically change according to preset programs during the test or be adjusted manually;
2.7 Automatic Control: Allows closed-loop control modes such as test speed, displacement, or strain, depending on test requirements;
2.8 Automatic Shutdown: The crosshead automatically stops moving after the specimen breaks;
2.9 Automatic Data Preservation: Test data and curves are automatically saved upon test completion;
2.10 Batch Testing: For specimens with the same parameters, one setup enables sequential testing of multiple specimens;
2.11 Display Mode: Data and curves are dynamically displayed in real-time during the test.
2.12 Curve Traversal: After the test, curves can be reanalyzed, with specific data points identified using the mouse.
2.13 Curve Selection: Stress-strain, force-displacement, force-time, and displacement-time curves can be selected for display and printing as required.
2.14 Test Report: Test reports can be customized and printed in user-defined formats.
2.15 Limit Protection: Includes both program-controlled and mechanical limit protection.
2.16 Overload Protection: Automatically stops operation when the load exceeds 2%–10% of the rated value.
If you are interested in our products, please fill in the message below to contact us and get a quote!
We will get back to you as soon as possible!
Type What You are Looking for


