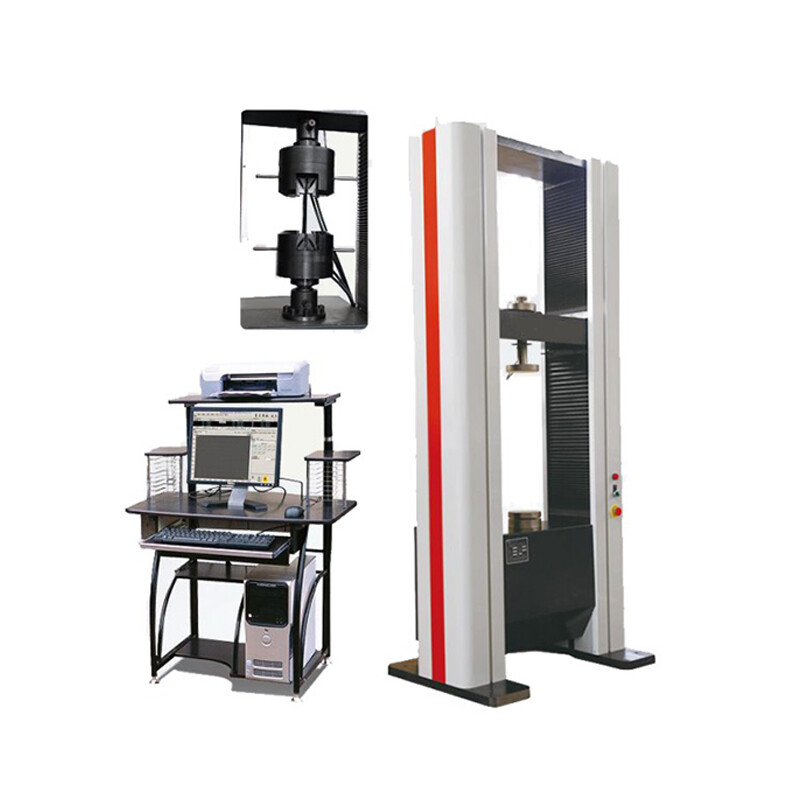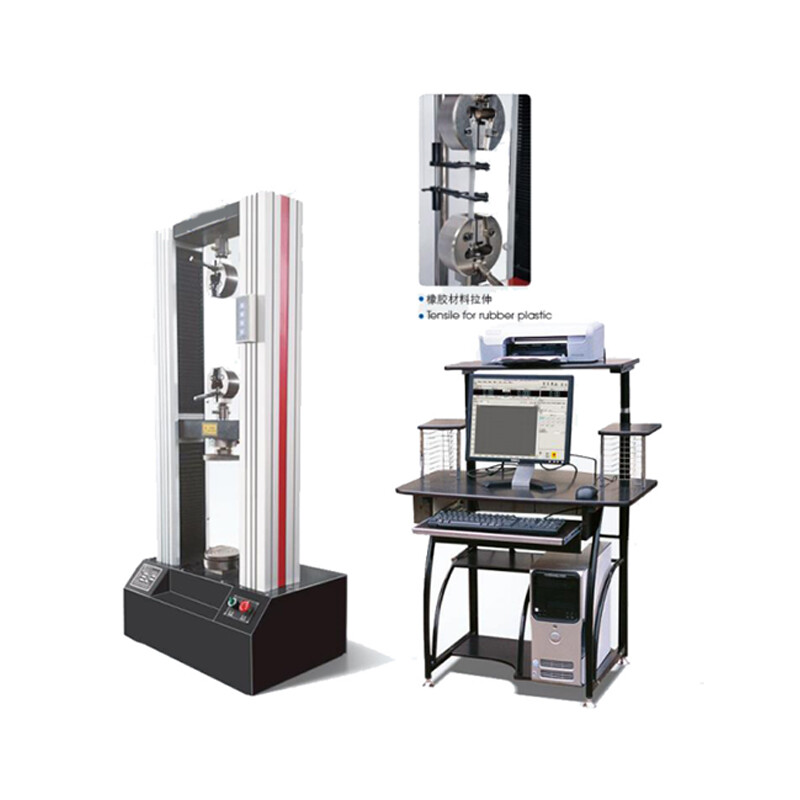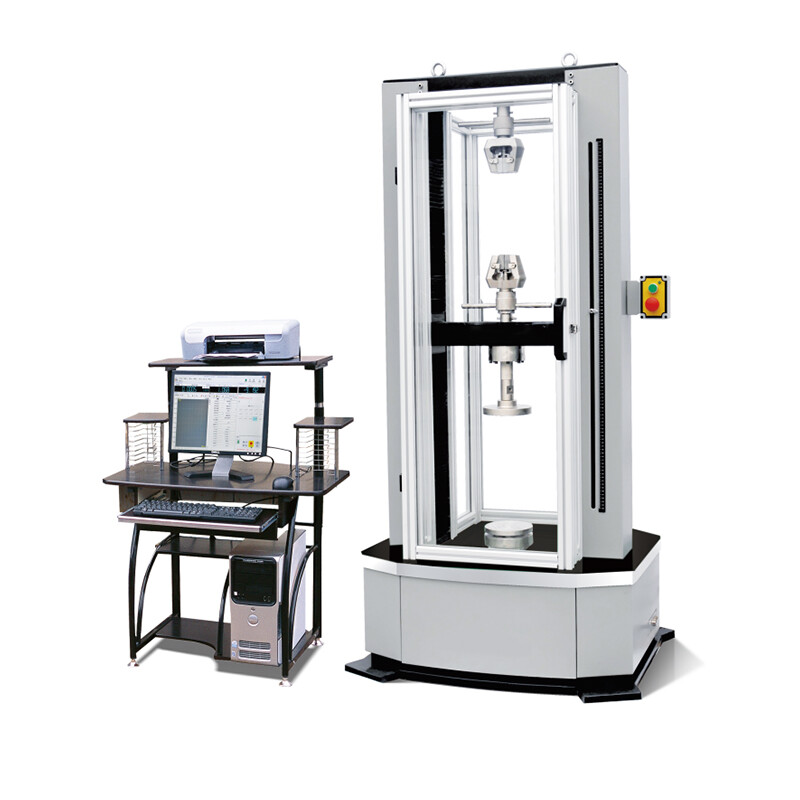
WDW-T300 Computer-Controlled Electronic Universal Testing Machine
Examples include rubber, plastics, wires, cables, composite materials, profiles, metal bars, sheets, springs, and components. It complies with GB and ISO testing standards and can be customized to meet user-specific testing requirements.
Ⅰ、Equipment Application:
This testing machine is suitable for various tests, including tensile, compression, bending, shearing, peeling, and tearing tests for metallic and non-metallic materials.
Examples include rubber, plastics, wires, cables, composite materials, profiles, metal bars, sheets, springs, and components. It complies with GB and ISO testing standards and can be customized to meet user-specific testing requirements.
Ⅱ、Main Technical Specifications:
1、Maximum test force: 300 kN;
2、Accuracy grade: Class 0.5;
3、Test force measurement range: 0.4%–100% FS;
4、Test force indication error limit: Within ±0.5% of the indicated value;
5、Test force resolution: 1/500,000 of the full scale, with no range division;
6、Displacement indication error limit: Within ±0.5% of the indicated value;
7、Displacement measurement resolution: 0.035 μm
8、Displacement speed adjustment range: 0.001–500 mm/min;
9、Displacement speed accuracy:
• For speed <0.01 mm/min: Within ±1.0% of the set value
• For speed ≥0.01 mm/min: Within ±0.5% of the set value;
10、 Force-controlled speed adjustment range: 0.005–5% F.S/S;
11、 Force-controlled speed accuracy:
• For rates <0.05% FS/S: Within ±1% of the set value
• For rates ≥0.05% FS/S: Within ±0.5% of the set value;
12、 Deformation speed adjustment range: 0.005–5% FS/S;
13、 Deformation speed control accuracy:
• For rates <0.05% FS/S: Within ±1% of the set value
• For rates ≥0.05% FS/S: Within ±0.5% of the set value;
14、 Constant force, constant deformation, and constant displacement control range: 0.5%–100% FS/S;
15、Constant force, constant deformation, and constant displacement control accuracy:
• For set values ≥10% FS: Within ±0.5% of the set value
• For set values <10% FS: Within ±1% of the set value;
16、Effective tensile space: 600 mm;
17、Compression test space: 1100 mm;
18、Clamping diameter for round specimens: φ4–φ27 mm;
19、Clamping thickness for flat specimens: 0–27 mm;
20、Effective testing width: 580 mm;
21、Dimensions of the main machine: 1090×820×2555 mm
22、Power supply: 380V ±10%, 50 Hz, 5 kW;
23、Mainframe weight: 3000 kg;
24、Working environment: Ambient temperature 10–35°C, relative humidity ≤80%;
Ⅲ、Standard Product Configuration:
1、Servo Driver: Panasonic servo driver (Japan);
2、Servo Motor: Panasonic servo motor (Japan);
3、Sensor: High-precision load sensor (1 unit);
4、Electronic Extensometer: High-precision electronic extensometer (1 unit);
5、Screw: Precision ball screw.
6、Fixtures: One set of standard tensile and compression fixtures each;
7、Tianchen Three-Closed-Loop Universal Testing Card: Integrated within the computer (1 set);
8、Computer: Lenovo business computer with widescreen LCD monitor.
9、Printer: HP printer.
10、Specialized Testing Software: TENSONTEST universal testing software, offering a fully open system with free upgrade services.
Ⅳ、 Product Functions and Features:
1、Mainframe
1.1 Imported fully digital AC servo motor and servo driver. This system delivers high precision, excellent stability, smooth and reliable operation, quick response, low noise, and comprehensive protection functions, including overload, overcurrent, overvoltage, undervoltage, overheating, emergency stop, and fault alarms. The system parameters can be adjusted to suit different machine models and testing types, ensuring optimal servo performance. Position control eliminates zero drift and instability at low speeds caused by speed loops.
1.2 Precision ball screws and a high-accuracy reduction mechanism ensure smooth transmission, low noise, and no backlash.
1.3 Safety features include upper and lower travel limit protection for the moving crossbeam.
2、Measurement and Control System
2.1 High-quality imported electronic components with a fully digital design ensure reliable performance;
2.2 Complies with PCIE bus standards, enabling plug-and-play functionality with automatic recognition and installation;
2.3 Integrated dual-channel precision amplifier with digital zeroing capability;
2.4 A data acquisition system comprising four high-precision 24-bit A/D conversion channels, expandable and segmented-free throughout the range.
2.5 Three optical encoder inputs support quadrature pulse frequencies up to 5MHz, with error correction, directional recognition, and counting functions;
2.6 The electronic measurement system avoids analog components like potentiometers, enhancing stability and simplifying maintenance and replacement;
2.7 Built-in large-scale FPGA programmable devices enable high-speed computation and real-time processing.
3、 Testing Software
The software supports multiple control modes, including constant force, constant displacement, constant deformation, and program control. During the testing process, it can display various test curves in real-time, such as force-displacement, force-time, and force-deformation curves, allowing automatic switching and comparison at any time. The control and data processing of the testing process fully comply with national standards for both metallic and non-metallic materials. It automatically calculates conventional parameters such as tensile strength, yield strength, fracture strength, elastic modulus, and specified non-proportional elongation strength (RP0.2), ensuring compliance with the relevant material standards.
3.1 The software supports multiple configurations of force sensors and deformation sensors, allowing users to switch as needed.
3.2 The professional testing machine software is highly versatile, providing users with dozens of standard testing methods for both metallic and non-metallic materials. It also supports customization of standards or testing methods based on user requirements.
3.3 The program adopts an open database structure, enabling users to modify and add custom items as needed. Users can also edit various report formats freely.
3.4 TENSON employs a modular design, dividing the software into several modules, including:
3.4.1 Testing Module: The main interface and testing control center of the software;
3.4.2 Parameter Management Permissions: Non-debugging operators are restricted from entering the parameter debugging module;
3.4.3 New Data Module: Allows for the creation of single or batch test data parameters;
3.4.4 Data Query Module: Equipped with various filtering options to quickly locate desired test data from thousands of records;
3.4.5 Parameter Debugging Module: The control unit for adjusting device parameters;
3.4.6 Report Printing Module: Enables users to edit test reports according to their needs.
3.5 TENSON is equipped with several auxiliary programs:
3.5.1 Configuration Program for Debugging Toolbox: Allows users to modify system configuration parameters;
3.5.2 Batch Processing Program: Compares curves from the same batch of samples and provides statistical results;
3.5.3 Report Processing Program: Offers advanced custom reporting, enabling users to edit reports in any format.
3.6 Overload Protection: Automatically stops the machine when the load exceeds the rated value by 2% to 10%;
3.7 Data Interface: Reserved for direct connection to the laboratory’s integrated information management network.
If you are interested in our products, please fill in the message below to contact us and get a quote!
We will get back to you as soon as possible!
Type What You are Looking for


