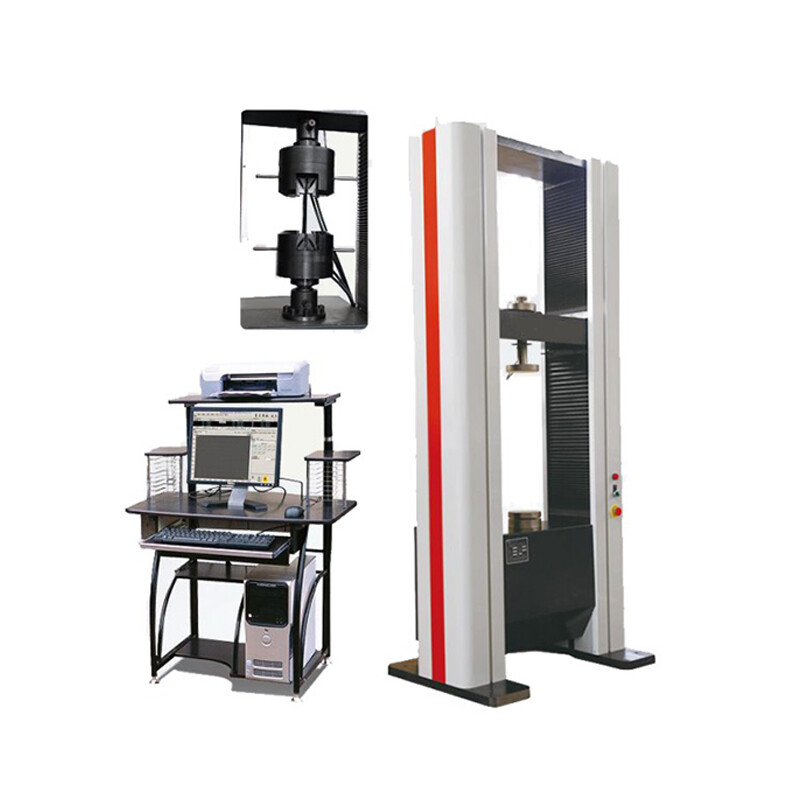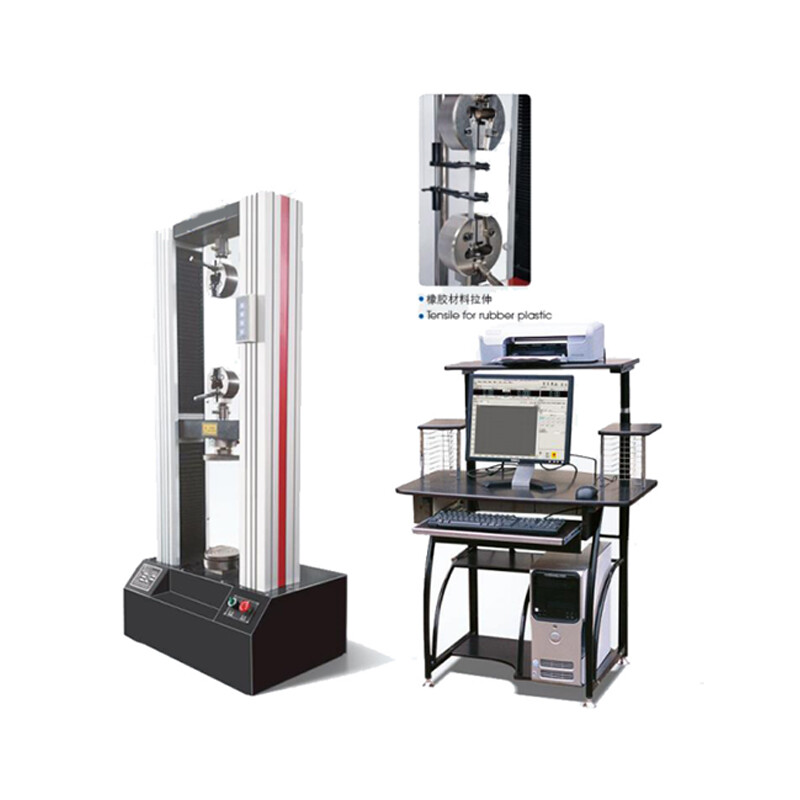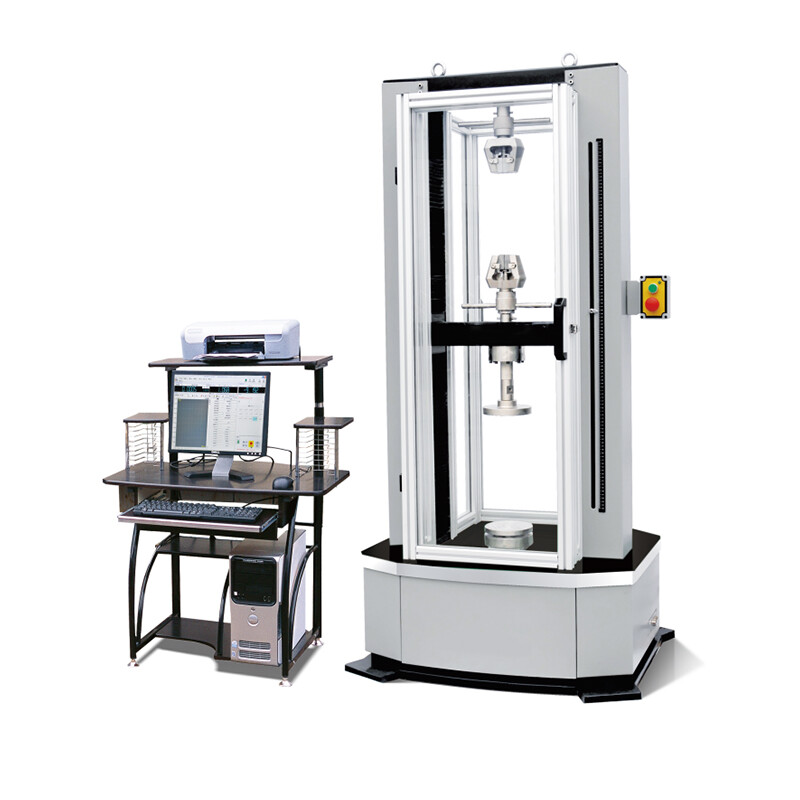
WDW-T100 Computer-Controlled Electronic Universal Testing Machine
Equipment Application:
The WDW-T100 Electronic Universal Testing Machine is designed for testing the tensile, compression, bending, shearing, peeling, and tearing properties of metallic and non-metallic materials. Additional testing methods and standards can be customized based on user requirements. It is an essential testing instrument for quality inspection units, research institutions, universities, and industrial and mining enterprises.
Main Technical Parameters:
1.Testing Force Range (kN): 0.4–100;
2.Testing Force Accuracy: Better than ±0.5% of the indicated value;
3.Testing Force Resolution: 1/500,000 of the maximum testing force, no range shift throughout;
4.Displacement Measurement Accuracy: Within ±0.5% of the displayed value.
5.Displacement Resolution: 0.035μm.
6.Displacement Rate Adjustment Range: 0.001-500mm/min.
7.Deformation Measurement Range: 0.4%~100%FS.
8.Displacement Rate Control Accuracy:
•When the rate is <0.01mm/min, within ±1.0% of the set value.
•When the rate ≥0.01mm/min, within ±0.5% of the set value.
10.Force Control Rate Adjustment Range: 0.005-5%FS/S.
11.Force Control Rate Accuracy:
•When the rate <0.05%FS/S, within ±1% of the set value.
•When the rate ≥0.05%FS/S, within ±0.5% of the set value.
12.Deformation Control Rate Adjustment Range: 0.005-5%FS/S.
13.Deformation Rate Control Accuracy:
•When the rate <0.05%FS/S, within ±1% of the set value.
•When the rate ≥0.05%FS/S, within ±0.5% of the set value.
14.Constant Force, Constant Deformation, Constant Displacement Control Range: 0.5%-100%FS/S.
15.Constant Force, Constant Deformation, Constant Displacement Control Accuracy:
•When the set value ≥10%FS, within ±0.5% of the set value.
•When the set value <10%FS, within ±1% of the set value.
16.Effective Tensile Test Space: 530mm.
17.Compression Test Space: 930mm.
18.Effective Test Width: 560mm.
19.Power Supply Voltage: 380V±10%, 50HZ, 3kW.
20.Working Environment: Room temperature 10~30℃, relative humidity not exceeding 80%.
21.Weight: 1100kg.
Main Configuration:
•Servo Driver: Panasonic Servo Driver (Japan).
•Servo Motor: Panasonic Servo Motor (Japan).
•Load Sensor: High-precision wheel-spoke type load sensor.
•Lead Screw: Precision ball screw.
•Three-Loop Measurement System: Includes constant force, constant displacement, constant strain, and other control methods. During testing, it can display multiple curves such as load, displacement, deformation, stress, strain, load time, deformation time, and automatically derive maximum load, tensile strength, elongation at break, and other result parameters.
•Computer: Lenovo with LCD screen.
•Printer: HP Printer.
•Dedicated Test Software Tensontest: Developed jointly by Tianchen Group and Zhejiang University, capable of executing GB, ISO, JIS, DIN, ASTM, and other testing standards. It is fully open-source, powerful, easy to operate, offers free software upgrades, and can be customized based on user needs.
Product Functions and Features:
This model features dual test spaces. The product is equipped with a full-digital multi-channel closed-loop measurement and control system, representing the latest generation of testing machine systems. It automatically calculates conventional data such as tensile strength, yield strength, elastic modulus, elongation at break, and non-proportional elongation strength (RP0.2), using multiple control methods such as constant force, constant displacement, and constant deformation. During the test, it can display multiple test curves such as force-displacement, force-time, and force-deformation in real-time, allowing for automatic switching and comparison at any time.
The imported Panasonic full-digital AC servo motor and servo driver have a speed ratio of up to 1:100,000. The system has high control accuracy, good stability, smooth and reliable operation, quick response, low noise, and complete protection functions (overload, overcurrent, overvoltage, undervoltage, overheating, abnormal stop, fault alarms). Parameters can be adjusted for different machine types and test types to keep the servo system in optimal condition. The servo system uses position control to overcome drift and instability at low speeds.
It uses a precision ball screw and precision reduction mechanism for smooth, low-noise transmission without backlash.
The imported high-precision load sensor has high sensitivity and stable performance.
The high-precision data acquisition board (18-bit A/D data acquisition) enables full digital adjustment, high-precision amplification, and precise control (integrated within the computer). Advanced chip integration technology and a high-precision ±500,000-code acquisition card maximize sensor measurement accuracy. The system is highly integrated, stable, reliable, and easy to use. The control software can automatically calculate conventional data such as elastic modulus, yield strength, tensile strength, fracture strength, and non-proportional elongation strength.
1. Automatic Zeroing: The measurement system automatically zeroes after the test begins.
2. Automatic Stop: The crossbeam automatically stops after the specimen fractures.
4. Automatic Data Saving: Test data and conditions are automatically saved to prevent data loss due to forgetting to save.
6. Automatic Control: The test speed, displacement, strain, and other closed-loop control methods can be selected according to the test requirements.
7. Program Control: Users can customize multi-step control programs based on specific programming standards.
8. Automatic Saving: Test data and curves are automatically saved at the end of the test.
9. Batch Testing: For samples with the same parameters, a batch of tests can be completed sequentially after a single setup.
10. Automatic Analysis: The system automatically analyzes test data according to relevant standards.
11. Curve Traversing: After the test, the curve can be analyzed, and data points on the curve can be identified using a mouse.
12. Curve Selection: Users can select and display various curves such as stress-strain, force-displacement, force-time, and displacement-time for printing, and easily reflect the failure process and data analysis of each point on the sample under tensile force.
13. Batch Processing: Multiple test data and curves can be compared, displayed, and printed.
14. Test Report: Multiple report editing methods (Excel/Word/Advanced Customization). Users can edit the report format according to their needs.
15. Limit Protection: Reliable limit protection is provided.
16. Overload Protection: The system automatically stops when the load exceeds 2%-10% of the rated value.
17. LAN Connection: The data interface allows direct connection to the laboratory’s comprehensive information management network.
18. USB Handheld Controller: An additional multifunctional handheld controller is available for more convenient operation.
If you are interested in our products, please fill in the message below to contact us and get a quote!
We will get back to you as soon as possible!
Type What You are Looking for


