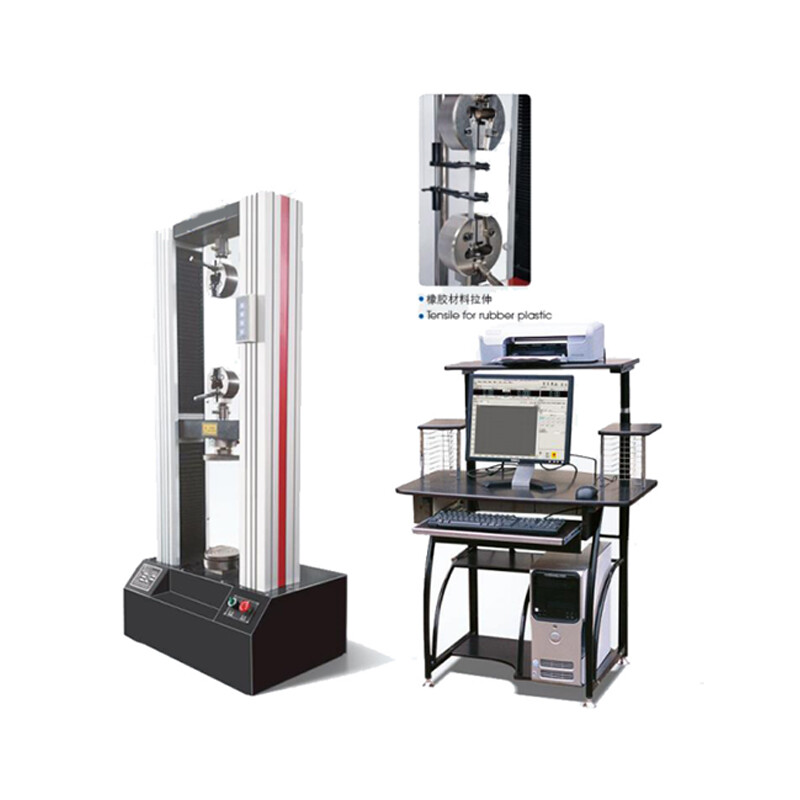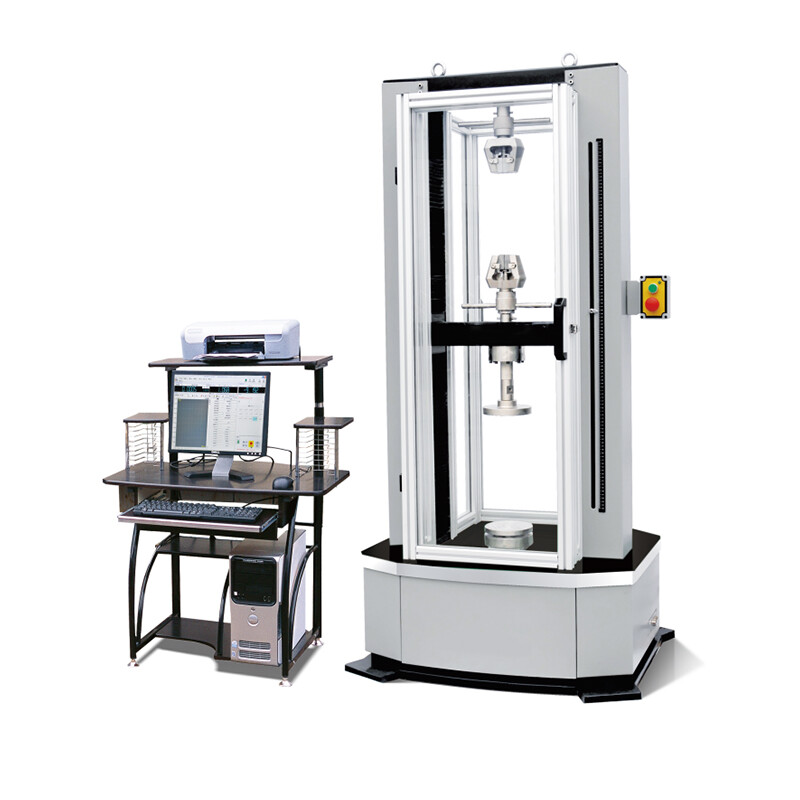
Microcomputer Controlled Electronic Universal Testing Machine WDW-300F
I. Project Introduction:
The domestic microcomputer-controlled electronic universal testing machine began in the early 1990s. To improve the technical level of products, the company has successively introduced advanced foreign technologies, raising the company’s product technology to a new level.
II. Application Fields:
This product is widely used for mechanical property testing of metals and non-metals, such as tensile, compression, bending, and shearing. With various types of fixtures, it can also be used for the mechanical property testing of profiles and components. It also has very broad application prospects in testing fields for materials such as ropes, belts, wires, rubber, and plastics, which have large deformations and fast testing speeds. It is suitable for test fields such as quality supervision, teaching and research, aerospace, steel metallurgy, automotive, construction, and building materials.
III. Standards:
It meets the requirements of the national standards GB/T228.1-2010 “Tensile Testing Method for Metallic Materials at Room Temperature” and GB/T7314-2005 “Metal Compression Testing Method,” and complies with data processing standards such as GB, ISO, ASTM, DIN, and other standards. It can meet user requirements and the standards provided.
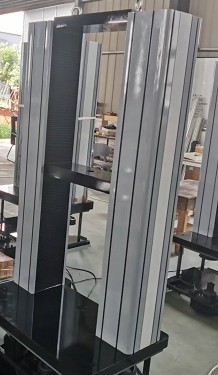
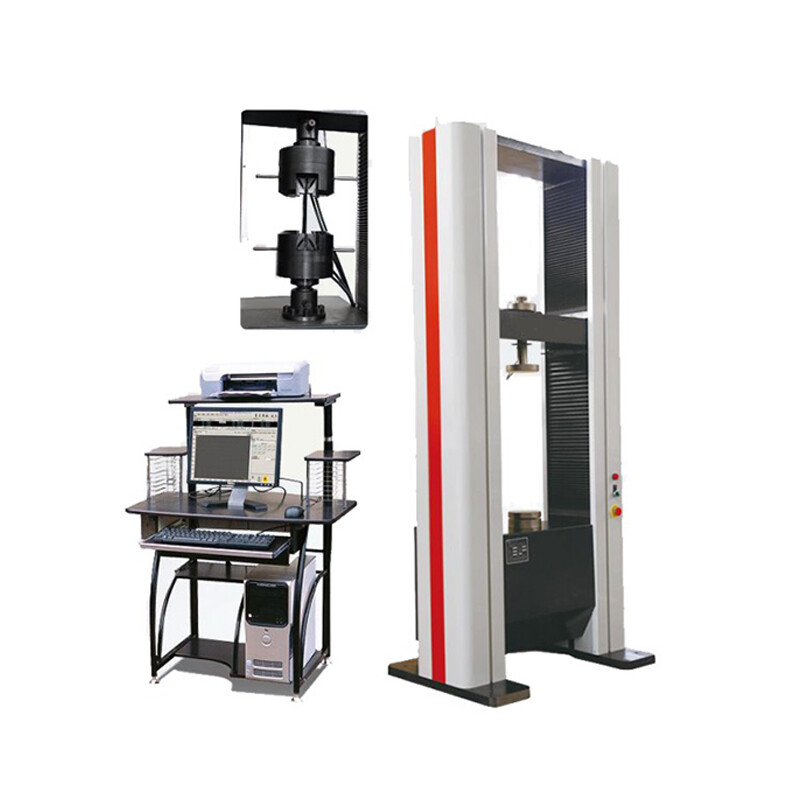
IV. Appearance Photo:(Please refer to the sample, actual product shall prevail.)
Ⅴ.Key Description:
1.Main Machine:The machine adopts a double-space portal structure, with the upper space for tension and the lower space for compression and bending. The crossbeam is steplessly adjustable. The transmission part uses a synchronous toothed belt and ball screw drive, providing smooth operation with low noise. The specially designed synchronous toothed belt reduction system and precision ball screw assembly drive the test machine’s moving crossbeam, achieving gap-free transmission.
2.Fixtures:
Standard configuration: One set each of wedge-shaped tensile fixture and compression fixture.
3.Electrical Measurement and Control System:
(1) The system uses an AC servo system and servo motor, which are stable and reliable, with overcurrent, overvoltage, overspeed, and overload protection devices.
(2) The system includes overload, overcurrent, overvoltage, displacement upper and lower limit, and emergency stop protection functions.
(3) The built-in controller ensures that the test machine can control crossbeam displacement and other parameters, and achieve constant speed displacement.
(4) At the end of the test, the machine can manually or automatically return to the initial position at high speed.
(5) Realizes true physical zeroing, gain adjustment, and automatic shifting, zeroing, calibration, and data storage for test force measurement, with no analog adjustment steps. The control circuit is highly integrated.
(6) The electrical control circuit follows international standards, complies with national testing machine electrical standards, has strong anti-interference capabilities, and ensures the stability of the controller and the accuracy of test data.
(7) The system has a network interface for data transmission, storage, printing records, and network transmission printing. It can connect to internal LANs or the Internet.
4. Software Main Features Description
The control software is used for microcomputer-controlled electronic universal testing machines to perform tests on various metals and non-metals (e.g., engineered boards) according to corresponding standards, and complete real-time measurement, display, control, data processing, and result output.
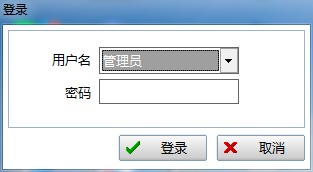
(1) Permission management is implemented, with different levels of operators having different operational rights. The menus and functions available for operation vary, making it simple, convenient, and quick for ordinary operators, while effectively protecting the system.
(2) Real-time measurement and display of test force, peak value, displacement, deformation, and other signals. It achieves real-time data acquisition and control under NT platforms like Win2000, WinXP, etc., with precise timing and high-speed sampling.
(3) Real-time screen display of load-deformation, load-displacement, and other test curves. Switching between curves is convenient, and zooming in and out of curves is easy.
(4) The test parameters can be stored, set, and loaded on the computer. Zeroing, calibration, and other operations are performed via software. Parameters can be easily stored and recalled, allowing easy switching when multiple sensors are used with one main machine, with no limit on the number.
(5) Supports constant speed displacement control. During parameter debugging by advanced operators, a standard reference curve is provided so that users can observe the effects of different parameters.
(6) Human-machine interaction is used to analyze data. The processing methods meet the requirements of the widely used “GB/T 228-2010 Metal Material Room Temperature Tensile Testing Method.” The software can automatically calculate various performance parameters such as elastic modulus, yield strength, and specified non-proportional elongation strength, and users can manually intervene to improve analysis accuracy. Data processing can also be done according to user-provided standards.
(7) Test data is stored in text files for easy user query and reprocessing with any general commercial reporting or word processing software. It is also easy to transfer data over a network.
(8) The entire test process data curve can be recorded and saved, with playback functions to reproduce the test curve. The software also supports curve overlay comparison for easier analysis.
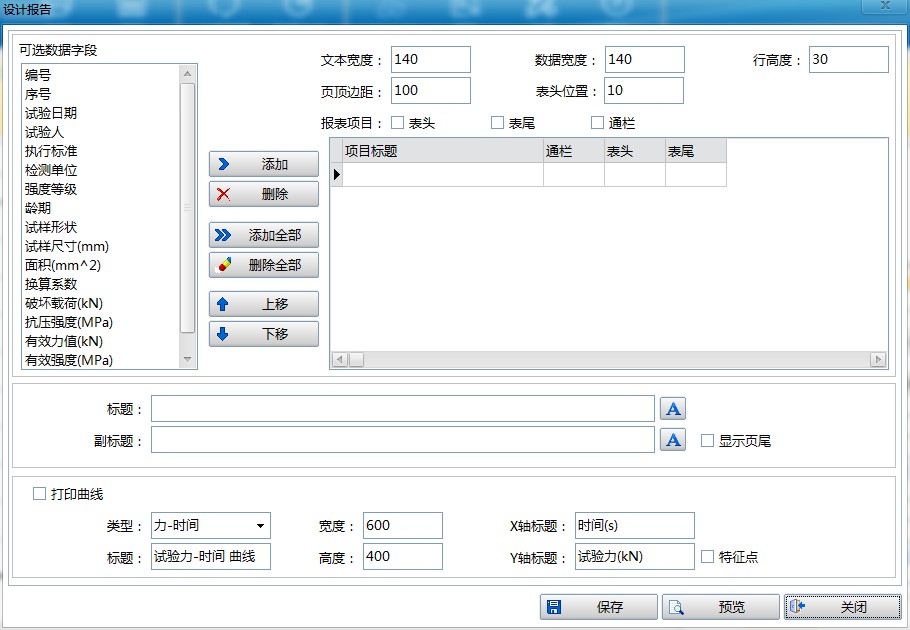
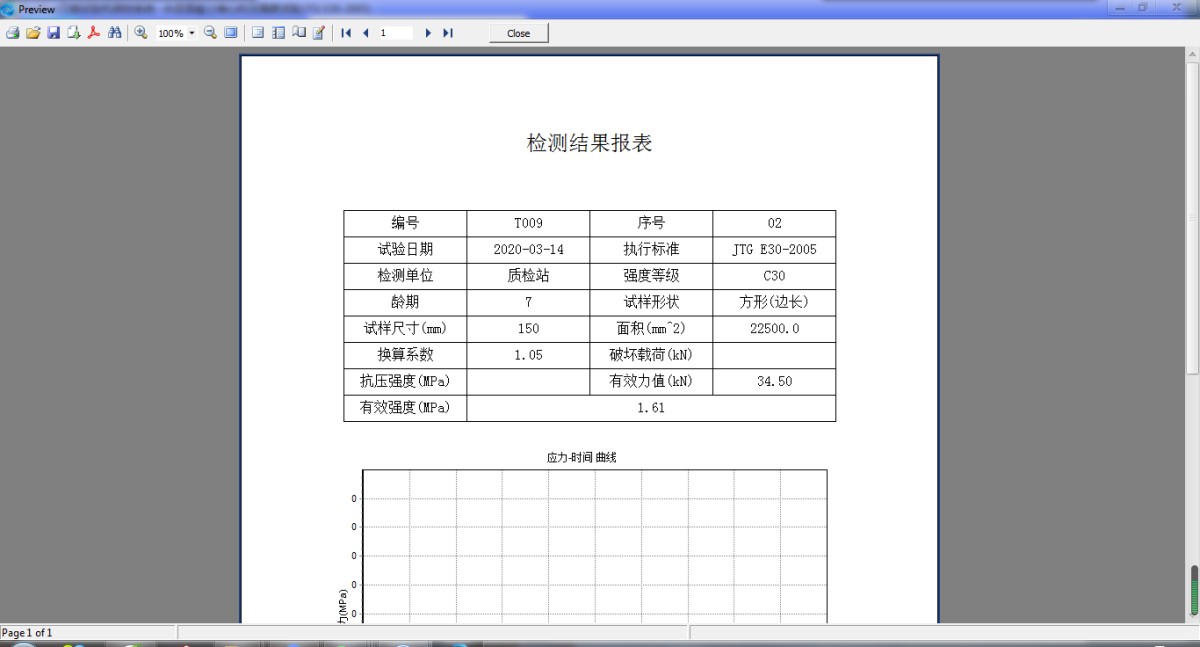
(9) The software can print test reports in a user-defined format. Users can choose basic information, test results, and test curve contents, meeting various needs.
(10) Implements digital zeroing and automatic calibration for test force and deformation, making operation easier and improving machine reliability. Various parameters are saved in files for easy storage and recovery.
(11) It can be applied to various operating systems like WinXP, Win7, Win10. Test process control, crossbeam speed changes, parameter input, and other operations can be completed using the keyboard and mouse, making it easy and quick to use.
(12) Automatically recognizes and supports external jog control, making sample clamping very convenient.
(13) Includes overload protection and automatic shutdown functions, and can automatically detect specimen fracture and stop the machine. Software functions may be added, removed, or adjusted according to user requirements.
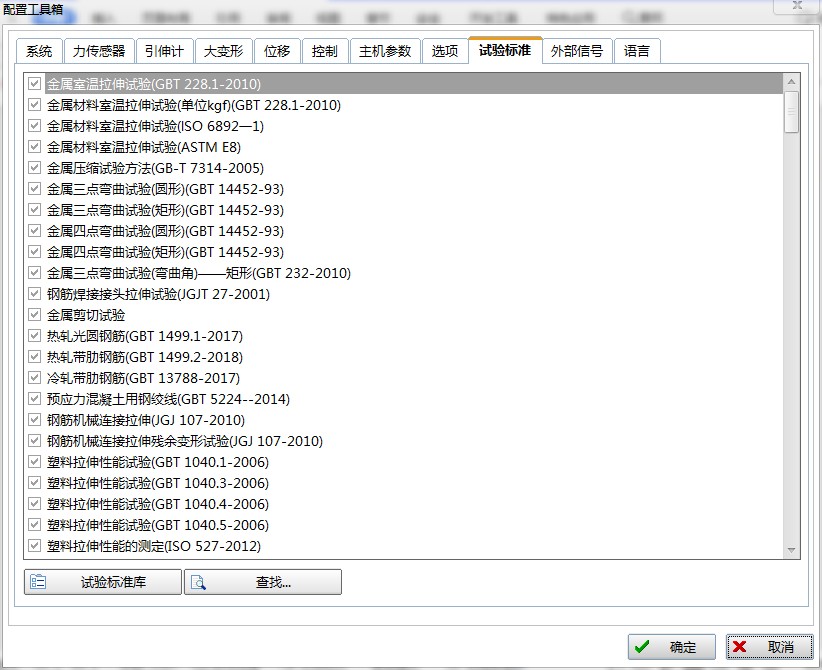
5. Software and Software Interface:
(1) The software can be used on WinXP, Win7, and Win10. The user interface is presented in an English window system consistent with the Windows style.
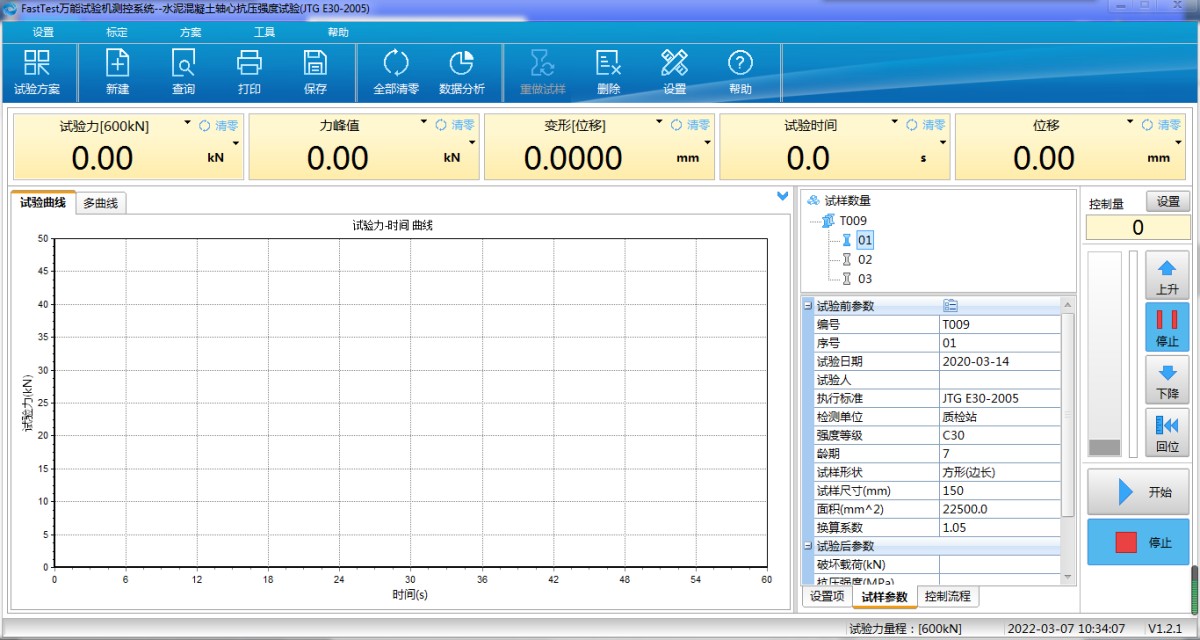
(2)Control Mode
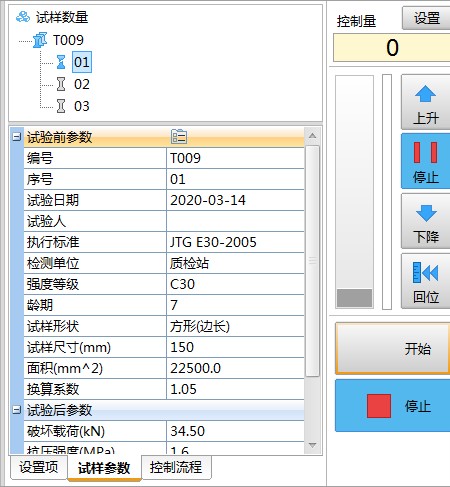
(3)Report Editing
(4) Variety of Test Methods: Multiple test methods are available for selection.
(5)Software Access Control: The software features a three-level management system, each with its own login credentials, ensuring secure use of the software.
VI. Technical Specifications:
VII. Control Parameters:
1. Stress Control Speed Range: 0.005~5% FS/s
2. Stress Control Speed Accuracy:
• When the rate < 0.05% FS/s, within ±2% of the set value
• When the rate ≥ 0.05% FS/s, within ±0.5% of the set value
3. Strain Control Speed Range: 0.005~5% FS/s
4. Strain Control Speed Accuracy:
• When the rate < 0.05% FS/s, within ±2% of the set value
• When the rate ≥ 0.05% FS/s, within ±0.5% of the set value
5. Displacement Control Speed Range: 0.001~500mm/min
6. Displacement Control Speed Accuracy: Within ±0.2% of the set value
7. Constant Stress, Constant Strain, Constant Displacement Control Range: 0.5%~100% FS
8. Constant Stress, Constant Strain, Constant Displacement Control Accuracy:
• When the set value ≥ 10% FS, within ±0.5% of the set value
• When the set value < 10% FS, within ±1% of the set value
VIII. System Configuration:
If you are interested in our products, please fill in the message below to contact us and get a quote!
We will get back to you as soon as possible!
Type What You are Looking for

